
Instant Pot Easter Eggs
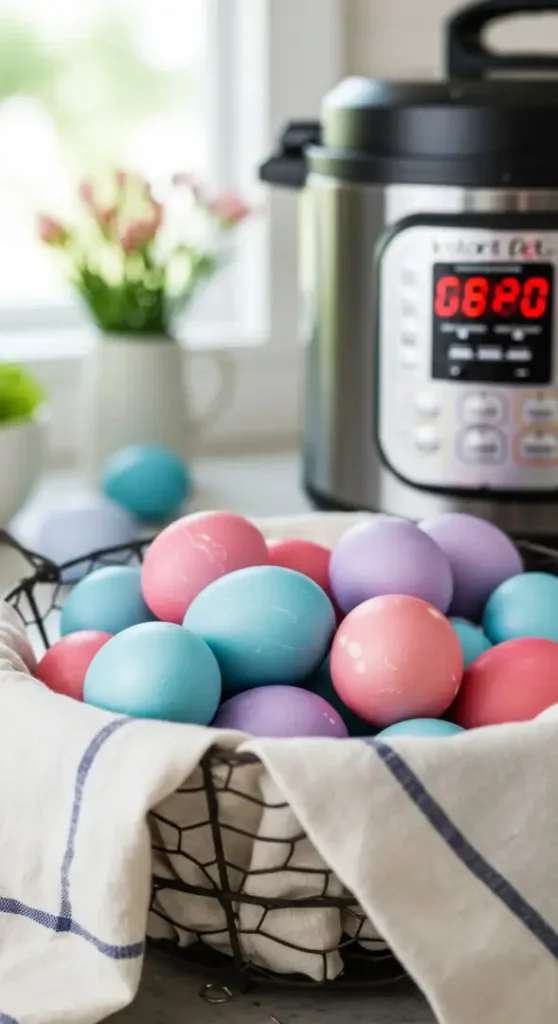
Easter is a time of celebration, color, and creativity. Instant Pot Easter eggs have become the modern way to get perfect, vibrant, and easy-to-make dyed eggs without the hassle of stovetop boiling. In this comprehensive guide, we’ll walk you through everything—from pressure cooking tips to decoration ideas that make your eggs stand out.
Why Use the Instant Pot for Easter Eggs?
The Instant Pot offers a consistent and efficient way to cook Easter eggs. Here are the top reasons why more families are switching:
- Evenly cooked eggs every time, with no green yolks
- No need to babysit a boiling pot
- Peels come off effortlessly
- Can cook a dozen or more eggs at once
- Great base for vibrant dyeing and decoration
How to Make Perfect Hard-Boiled Eggs in an Instant Pot
Follow the 5-5-5 method—a golden standard for pressure cooking eggs:
- 5 minutes pressure cook on high
- 5 minutes natural release
- 5 minutes in an ice bath
Instructions:
- Place a trivet or steamer basket inside your Instant Pot.
- Add 1 cup of water to the pot.
- Carefully place your large eggs on the trivet.
- Set to Manual or Pressure Cook on high for 5 minutes.
- After it finishes, let it naturally release for 5 minutes.
- Transfer eggs into an ice bath immediately for 5 minutes.
Best Food Coloring Techniques for Instant Pot Easter Eggs
Once your eggs are cooked and cooled, it’s time for the fun part—dyeing and decorating. Instant Pot eggs are less likely to crack, which makes them perfect for coloring.
Classic Vinegar Dye Method:
| Color | Food Coloring Drops | Vinegar | Water |
|---|---|---|---|
| Red | 10 red | 1 tbsp | 1/2 cup |
| Blue | 10 blue | 1 tbsp | 1/2 cup |
| Green | 10 green | 1 tbsp | 1/2 cup |
| Purple | 5 red, 5 blue | 1 tbsp | 1/2 cup |
| Orange | 5 red, 5 yellow | 1 tbsp | 1/2 cup |
- Mix food coloring, vinegar, and water in cups.
- Let the eggs soak for 5–10 minutes depending on color intensity.
- Use a slotted spoon or tongs to remove them.
- Let dry on a paper towel or drying rack.
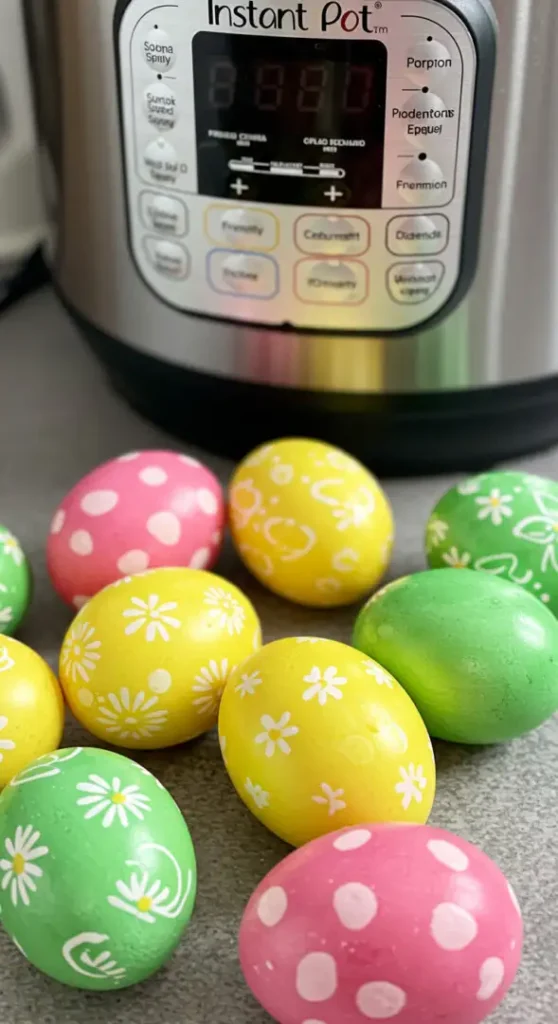
Creative Decoration Ideas Beyond Dye
1. Shaving Cream or Whipped Cream Marbling
- Spread shaving cream or whipped cream in a baking dish.
- Add drops of food coloring and swirl with a toothpick.
- Roll your egg gently in the mix and let it sit for 10 minutes.
- Rinse and dry for psychedelic patterns.
2. Crayon Resist Designs
- Draw on your eggs with white crayons before dyeing.
- The wax resists dye, revealing hidden designs after coloring.
3. Gold Leaf Accents
- Apply metallic gold leaf or use gold paint pens for a luxurious finish.
- Especially elegant for centerpieces or adult-themed baskets.
4. Sticker Stencils and Washi Tape
- Create geometric patterns using tape or stickers before dyeing.
- Remove after drying to reveal contrasting negative space.
Using Natural Dyes in the Instant Pot
Skip the synthetic colors and use natural ingredients for earthy, organic tones.
| Ingredient | Color |
|---|---|
| Red cabbage | Blue |
| Beets | Pink |
| Turmeric | Yellow |
| Spinach | Light green |
| Onion skins | Orange/Brown |
How to Use:
- Place chopped ingredients in the Instant Pot with 2 cups of water.
- Add 1 tbsp of vinegar.
- Nestle eggs directly into the mixture.
- Pressure cook for 5 minutes, natural release for 5, ice bath for 5.
- Dry and admire your naturally dyed Easter creations.
How to Make Instant Pot Crackled Easter Eggs
Also known as “Dragon Eggs”, these are visually stunning and simple to make:
- Cook your eggs using the 5-5-5 method.
- Once cooled slightly, gently crack the shells all over without peeling.
- Soak the cracked eggs in dark-colored dye for a few hours or overnight.
- Peel to reveal beautiful marbled veins.
Tips for Success When Using Instant Pot for Easter Eggs
- Use older eggs for easier peeling.
- Don’t overcrowd the pot; allow space for pressure circulation.
- Use tongs or silicone egg racks for easy egg removal.
- Make sure the sealing ring is secure to avoid pressure issues.
- Let dyed eggs dry on a cooling rack to prevent blotching.
Fun Easter Egg Games and Ideas
Add an extra layer of joy by incorporating your eggs into activities:
- Egg Hunt: Hide Instant Pot-dyed eggs for kids to find.
- Egg Rolling Contest: Who can roll their egg the furthest without cracking?
- Easter Basket Centerpieces: Arrange dyed eggs with spring flowers.
- Name-Tag Eggs: Write names on eggs for place settings at Easter brunch.
Storage and Safety Tips for Easter Eggs
- Refrigerate within 2 hours of cooking if not being used immediately.
- Dyed eggs are safe to eat as long as non-toxic coloring is used.
- Use within one week for best freshness.
- Don’t eat eggs that have been left out for more than 2 hours.
Conclusion: Brighten Easter with Instant Pot Magic
Using an Instant Pot for Easter eggs not only saves time but also ensures precision and opens up a world of creativity. Whether you’re into vibrant colors, natural dyes, or unique patterns, this method guarantees success every time.